WATCH ON YOUTUBE
WATCH ON RUMBLE
WATCH ON ODYSEE
Creating the Space Scene
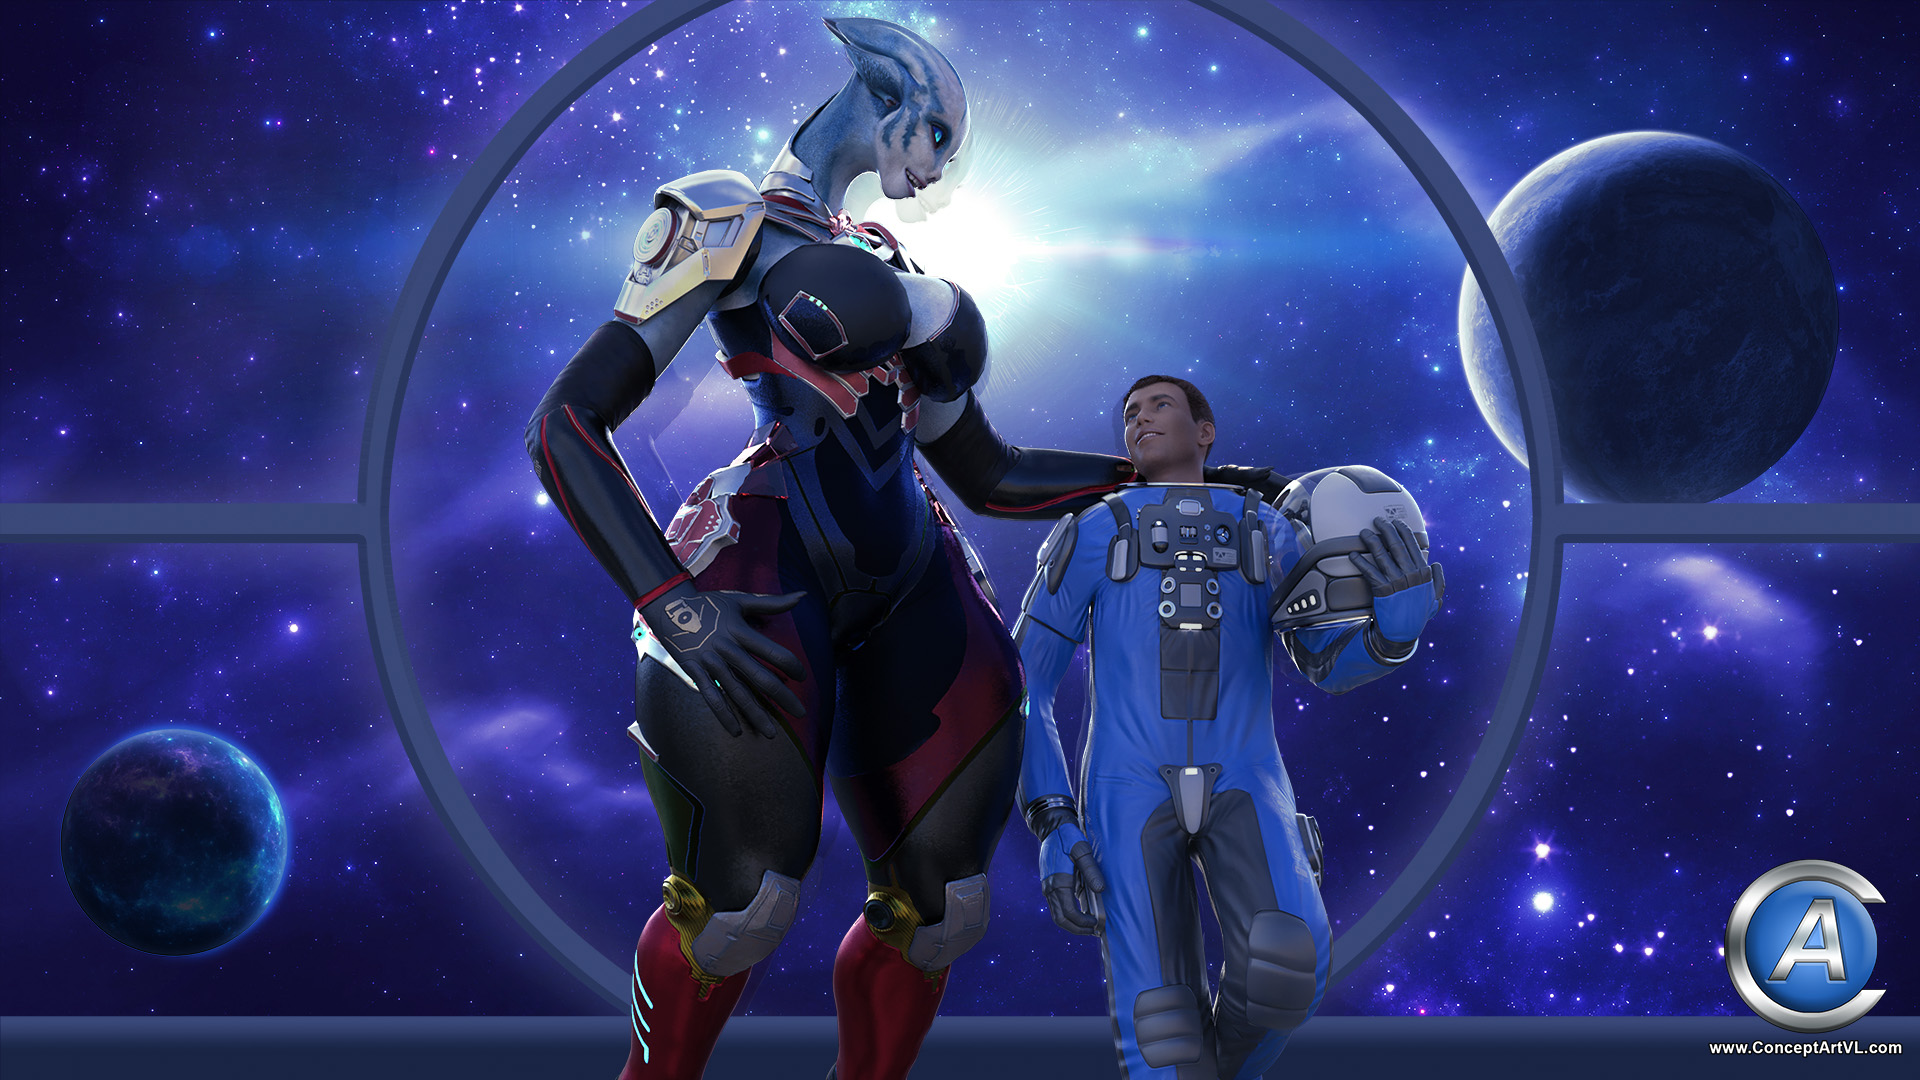
In today's design, I'll be showing you how I created this sci-fi illustration. I'll begin by creating a simple space scene, which will act as the background for the 2 characters that I'll be creating later. Creating a compelling space scene is not just about creating stars, its about adding multiple elements to give the scene life and vibrance. The way that you use light and mix colors is also important. I tend to also play around with multiple blending modes, until I'm satisfied with the result. I also use multiple nebulae images and brushes to complete the scene.
There's no such thing as a specific way to create a compelling space scene. Every space scene tends to be unique in its own way. It's simply a matter of experimentation, until the end result, simply feels right. For me, that's the beauty of creating space scenes.
About the Artist
You're probably seeing my artwork for the first time. So, let me tell you a little bit about myself. I've been quietly creating artwork, for my clients and my students, for over 20 years. I began by using relatively simple programs, such as Bryce 3D and Metacreations Poser. Over the years, I moved on to other programs, such as 3DS Max, Maya, Lightwave 3D, Cinema 4D, and even Vue 3D. I even taught 3DS Max at a private school, for 2 years, from 2010 to 2012. I must admit, I've had allot of interesting experiences, working with various 3D programs. But with all those experiences, there are always 2 programs that I tend to use the most. Adobe Photoshop and Daz Studio - which brings me right back to the illustration being shown in this design.
Building the Starship Environment
With the nebulae complete, I moved on to creating one of the windows for the starship. The two characters that I'll be creating later on, will be standing in front of this window. I'm also applying layer styles, to add some depth to the window frame.
Years ago, I created a collection of planets and nebulae, using Photoshop. I still use that collection to this day. You can download this collection from my website, ConceptArtVL.com.
The nearby star would play the role of the primary rim light in this scene. I added some additional elements to enhance the star, such as an additional photo and a lens flare brush. These elements would of course be partially covered by the main characters, but that would not be a problem.
Creating the Characters
Now that the environment is complete, its time to create our 2 main characters. These characters will be created and rendered in Daz Studio, then the completed render will be imported into Photoshop. When building Daz Studio characters, you always begin with base characters that are wearing no clothes. This of course is an issue for YouTube and other video sharing websites. The AI bots on these websites are not capable of telling the difference between a 3D character versus a real human who's not wearing clothes. This is why I emphasize that these designs are strictly for educational purposes only ... and I also make sure to cut out the nude sections of my recordings.
Creating the Alien Lady
The first character that I'm creating is the Alien Lady. She's 8 feet tall. At this point I'm using various morphs to customize her body. I'll continue explaining when the customization of her morphs are complete.
Now, it's time to raise her height to 8 feet tall. The final steps involve changing her skin color and dressing her up in her alien bodysuit. This is going well so far. Once this process is complete, I'll then move on to creating her human companion, the Astronaut.
Creating the Astronaut
The Astronaut's base height is already set at 6 feet tall, so I don't need to change anything.
Posing and Rendering
The final steps involve posing and rendering the characters. The characters are casually having a conversation near the window, so I'm posing them accordingly. I'll finish up with my closing comments, when the render is complete and imported into Photoshop.
Final Photoshop Design
With the render complete, let's finish up the overall design in Photoshop. The final stages involve photo retouching and color grading. Now, let's have a look at the completed design.
Only Gold Members who are logged in, can see the Download Link below. Sign Up Here to become a Gold Member.